

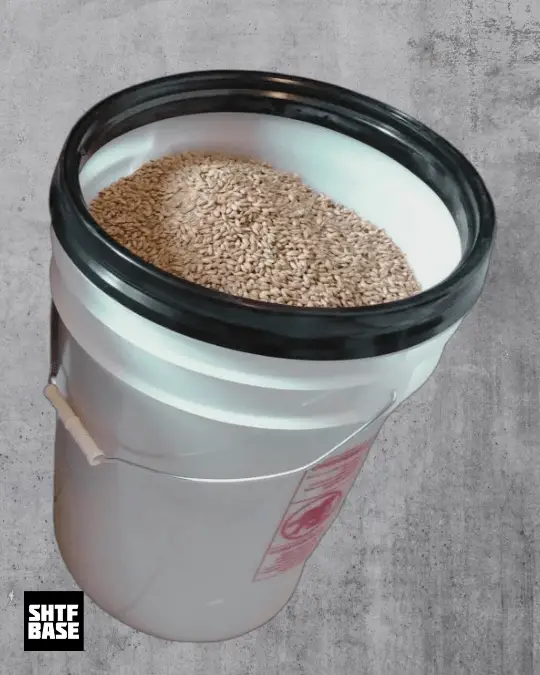
If you’re looking to get into prepping or long term food storage, buckets are one of the best options to keep your food edible long term.
Food grade buckets are great for storing food because they protect your food against contamination, and have a tight fitting lid. New buckets are also relatively cheap and
Table of Contents
Considerations for long term food storage
There are five main factors which you must control for when storing food long term. Failure to protect your food from any of these will reduce it’s shelf life. Using food grade buckets will protect your food from most contaminants.
Moisture – When storing food long term it is best to keep things as dry as possible. Without moisture there is less risk for things like mold or other contamination.
Heat – The ideal temperature for food storage is about room temperature or 70 degrees Fahrenheit. If your food is experiencing warmer temperatures it will reduce its usable lifespan
Oxygen – Exposure to oxygen will cause certain foods to oxidize which can degrade their flavor and nutritional properties. If oxygen is present in your food stores it will also create an environment for microbes and insects to live.
Sunlight – If your food is exposed to sunlight it can effect the appearance, flavor, and nutrients of some foods. Oils and fats are prone to oxidation when exposed to sunlight increasing the risk they go rancid.
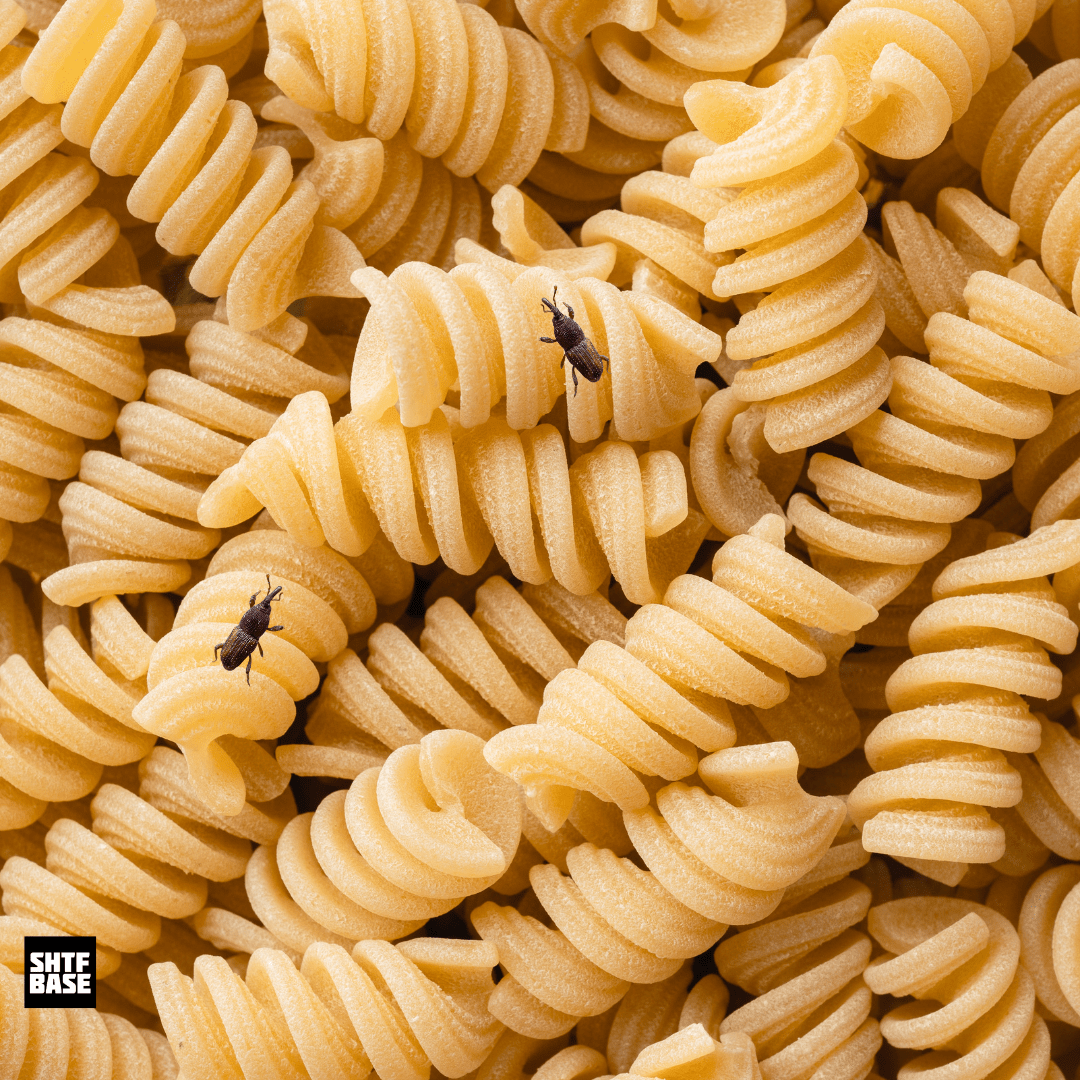
Pests – Rodents and insects can contaminate or completely destroy your emergency food supply.
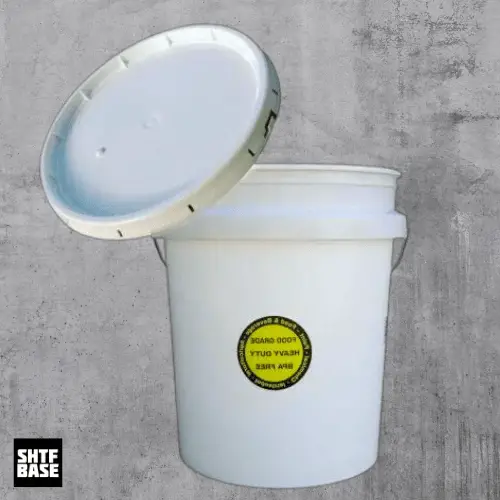
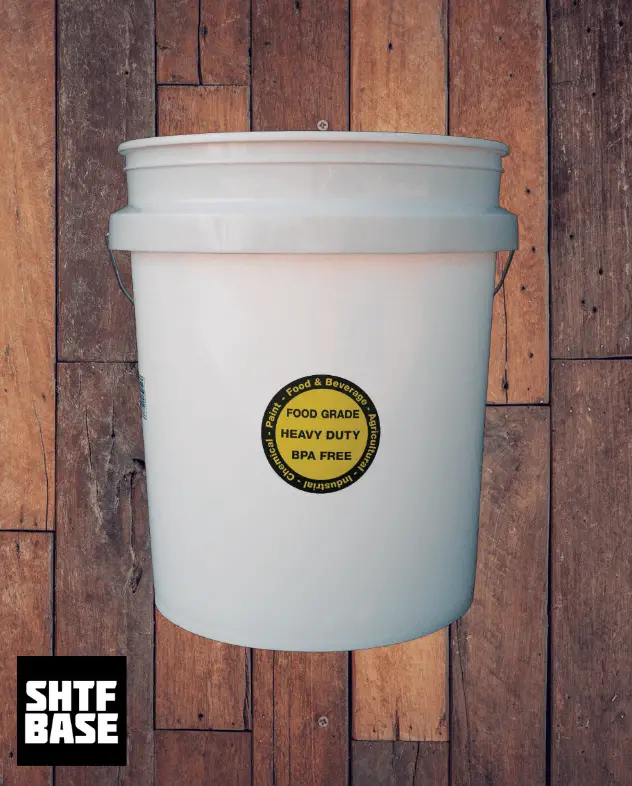
Food grade buckets
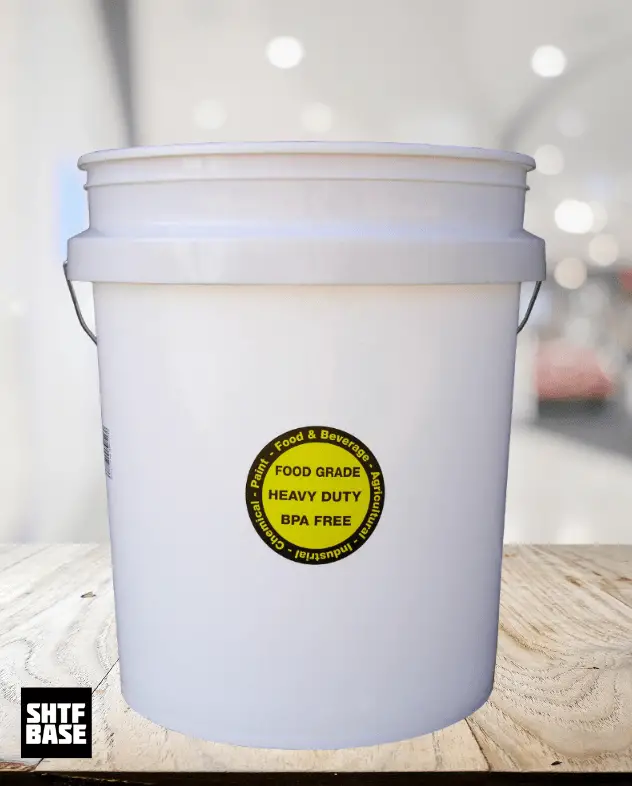
There are two main types of plastic buckets you will encounter. Food grade buckets and non-food grade buckets.
Food grade buckets are made of a food safe plastic that will not contaminate the contents of the bucket. These are the best options for long term food storage. It is safe to pour food directly in these buckets although I still don’t recommend that.
You are probably already familiar with normal buckets. These are what you typically find at home improvement stores. Normal buckets are not made of food safe plastic and you should never put food directly into these buckets. It is safe to store food in these buckets if you are first sealing your food in mylar bags.
There are two main reasons you may want to use normal buckets instead of food grade buckets. Prices vary but food grade buckets are about double the cost of a normal bucket.
Last I checked a five gallon bucket at Home Depot or tractor supply costs about $3. A food grade bucket will run you about $6-7.
The second reason you may go for normal buckets is that they are easier to find. Every hardware store and home improvement store sells them. I typically have to buy my food grade buckets online because they are harder to find locally.
A word on food grade bucket sizes
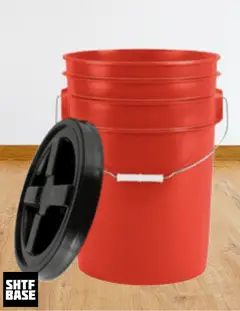
The most common food storage buckets you will find and 5 and 6 gallons in size. For many people, these work perfectly for their needs.
A five or six gallon bucket can weigh up to 40 pounds and get extremely heavy depending on what you’re storing. This can make transporting or moving full buckets difficult. Keep this in mind and buy smaller buckets if needed.
If you are buying smaller buckets make sure your lids will fit them. I like all my buckets to share the same lid size.
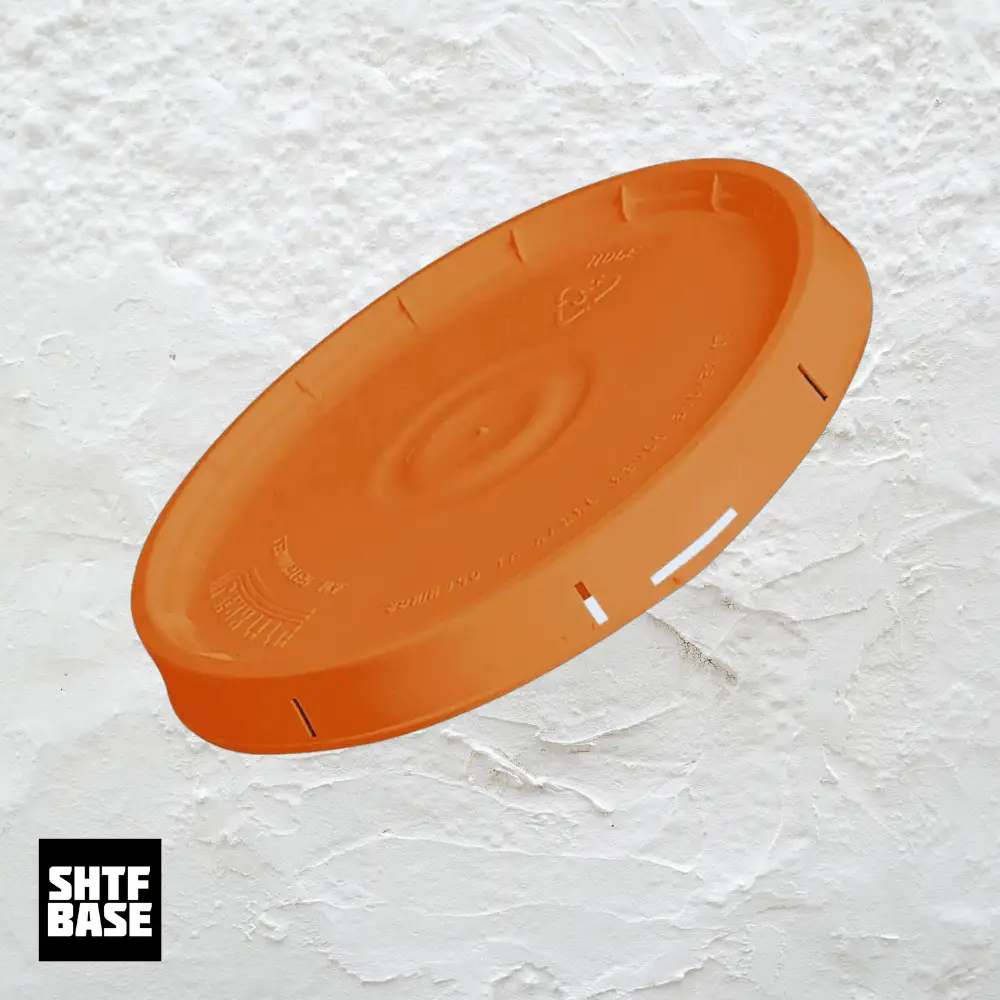
Lids
There are three main types of bucket lids you will encounter.
Press on Lid
This is the most common. These lids are pressed onto the top of the bucket. You may need to use a rubber mallet to seal the lid. To open the bucket you must pry off the lid using a screw driver or similarly shaped tool. Regularly accessing the contents of a bucket with this lid is a huge pain. These lids are cheapest.
Tear Strip lid
This lid is similar to the press on lid in that it is also pressed onto the top of the bucket to seal. To remove the bucket there is a pull tab that must be removed from the lid. Thus allowing access to the contents. You can push the lid back on to reseal but the seal isn’t as good after opening the first time.
Gamma lids
These lids thread onto the top of the bucket. They are very convenient to open and reseal. A gamma lid is more expensive but well worth the extra cost if you plan on accessing the contents periodically. I use a mixture of lids depending on what I’m storing.

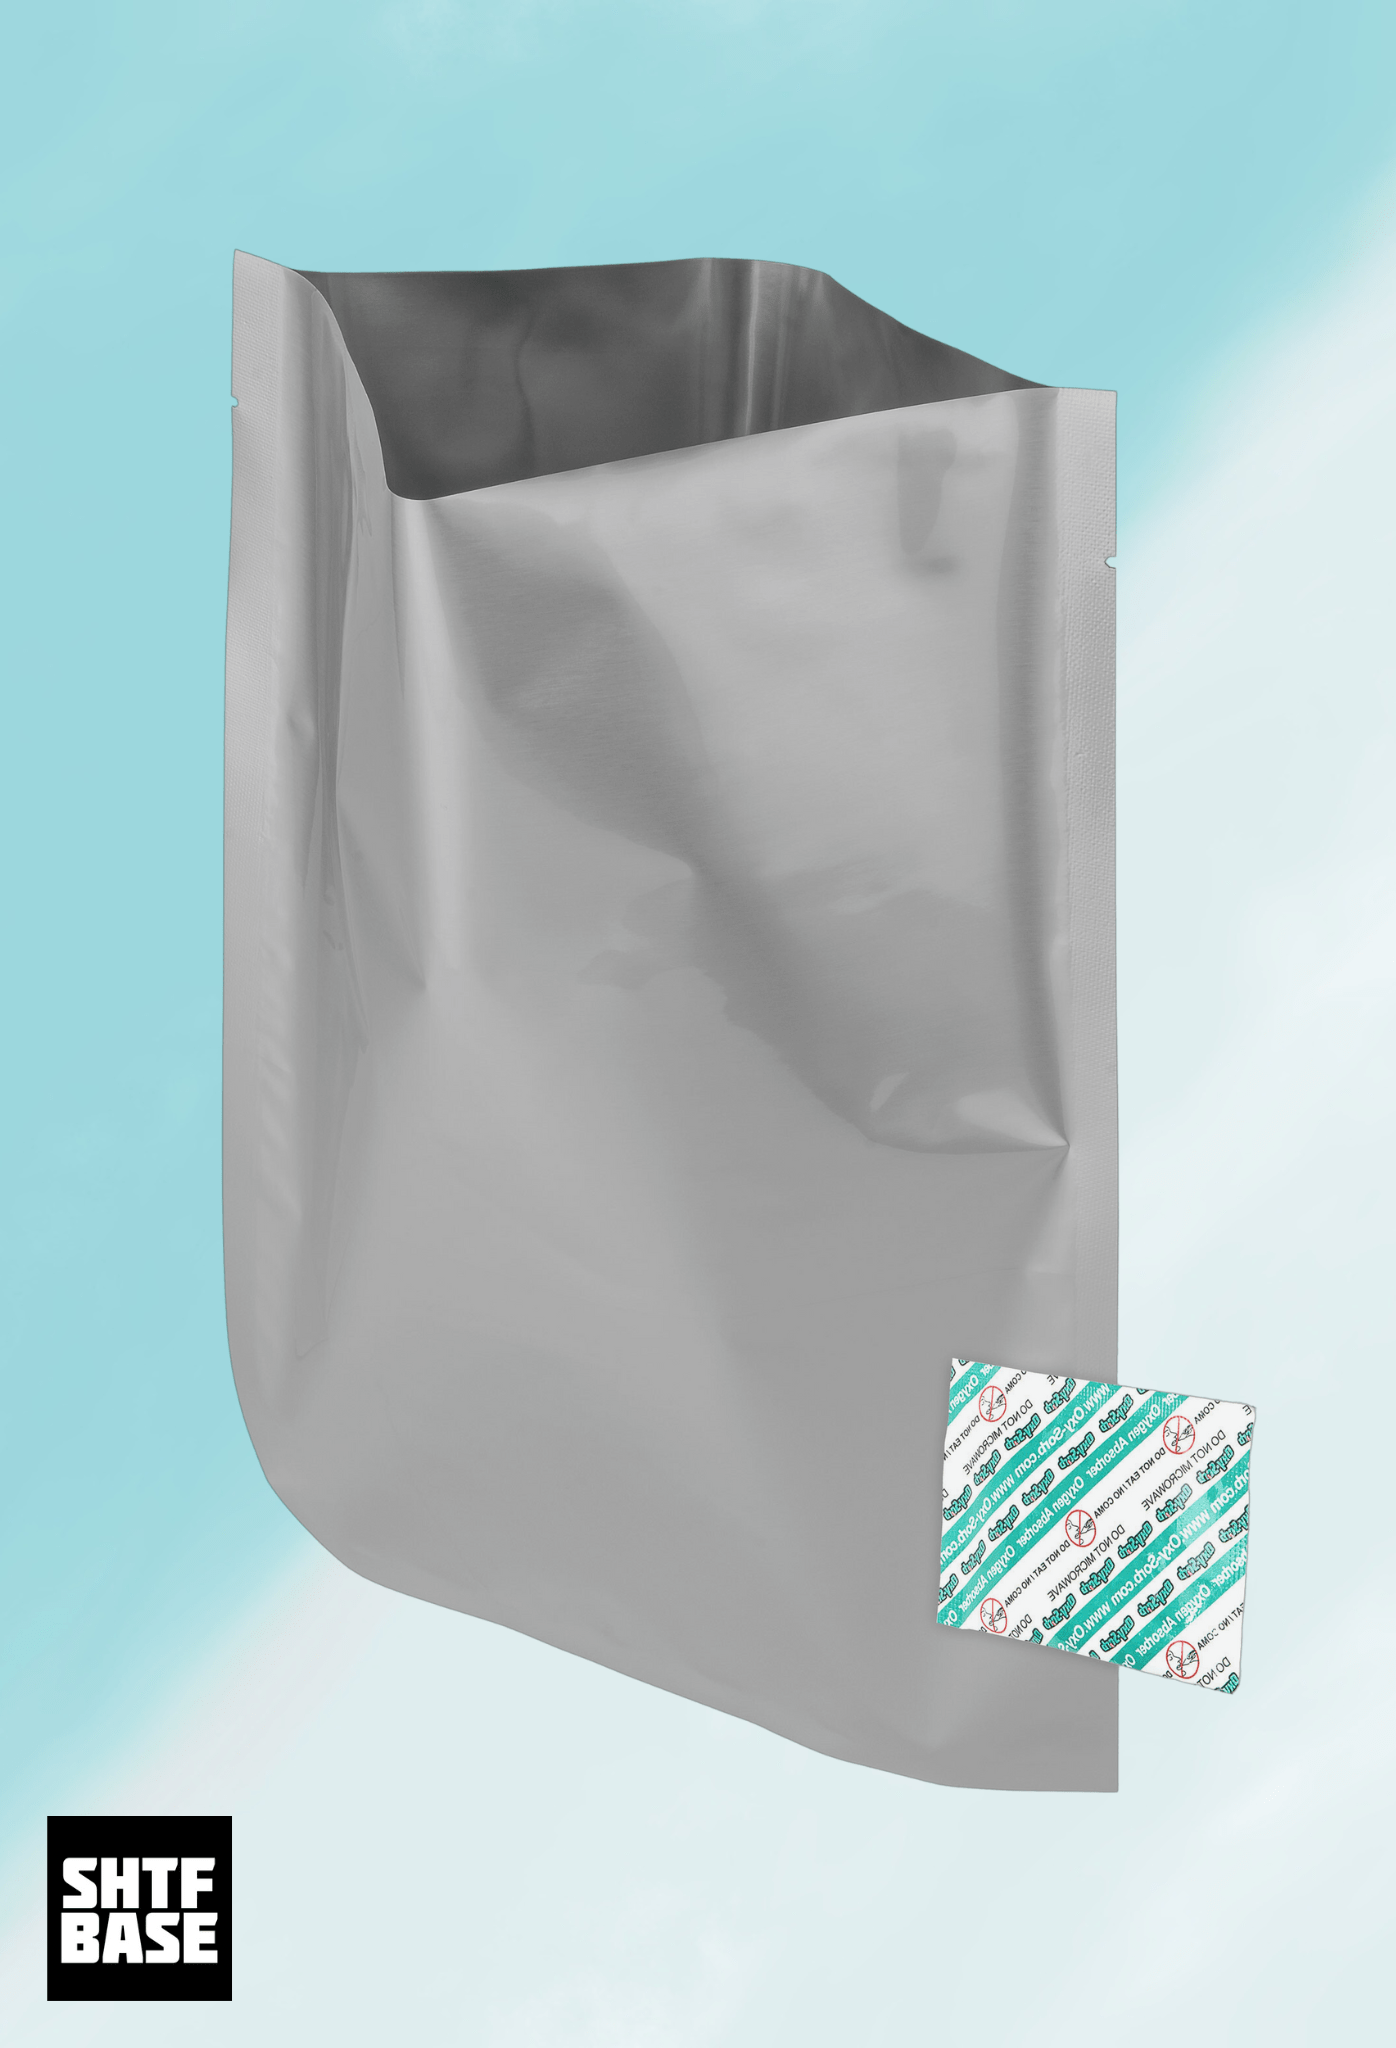
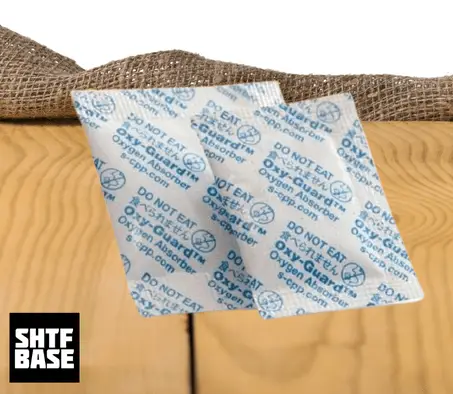
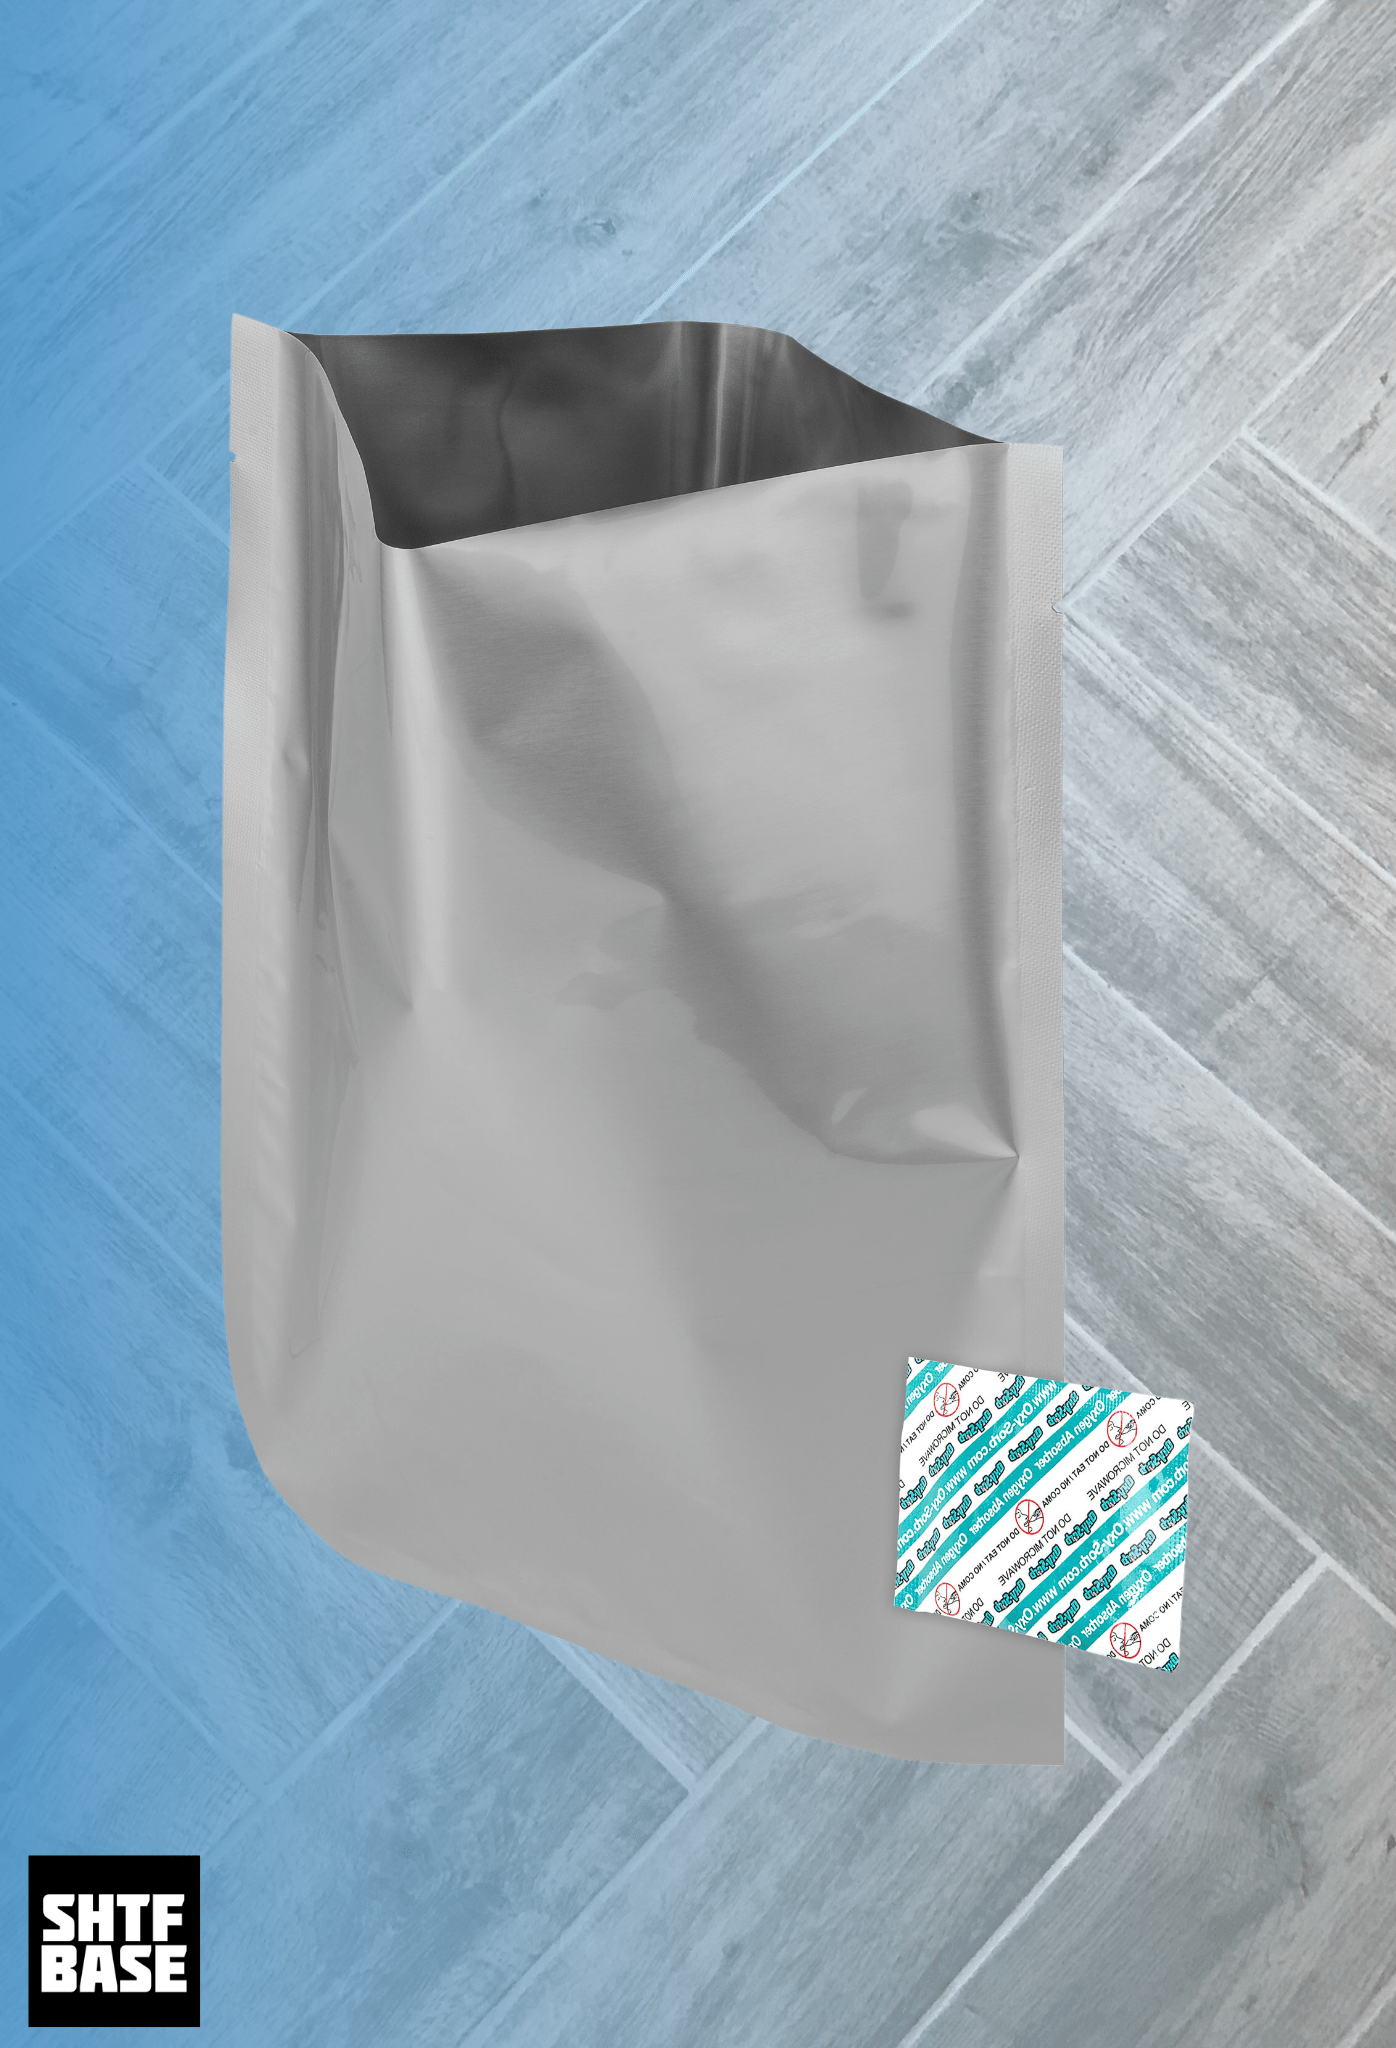
Oxygen absorbers
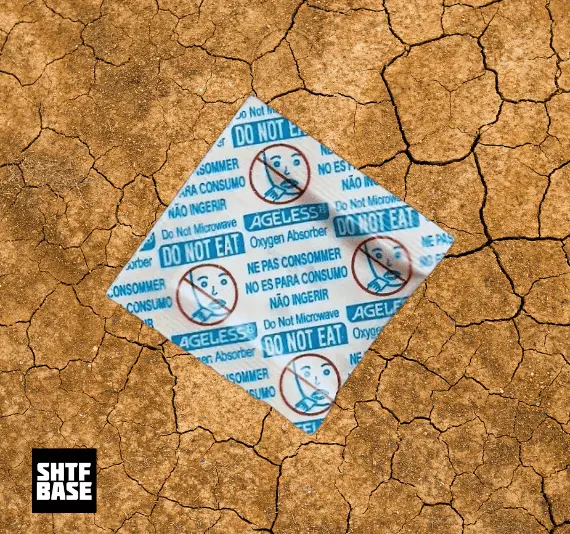
These little packets will absorb any oxygen in the containers you’re using to store food. They come in many sizes and are typically measured in cubic centimeters or CCs.
Pay attention to the size of mylar bag or bucket you’re using. You need to ensure you have enough oxygen absorbers in the bag/bucket to remove all oxygen.
You can’t use too many oxygen absorbers but if you use too few they won’t be able to remove all oxygen which will reduce your food’s shelf life. Below is a quick reference to determine how much oxygen absorbers you need.
32oz canning jars: 100cc
Half gallon mylar bag: 200cc
One gallon mylar bags: 400cc
Five gallon buckets: 1500cc
Any unused oxygen absorbers should be vacuum sealed in a container with an airtight seal. This will keep them good for future prepping use. If you don’t keep them sealed the oxygen absorbers will fill with oxygen rendering them useless. For more details on proper oxygen absorber use check out our post dedicated to the topic.
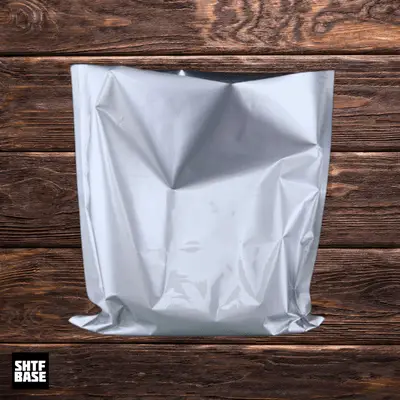
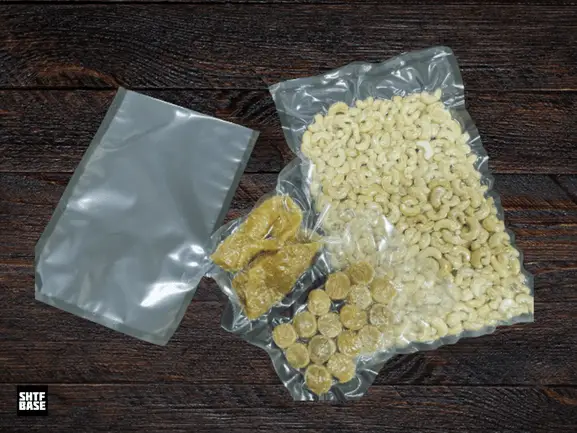
Storing food inside buckets and mylar bags
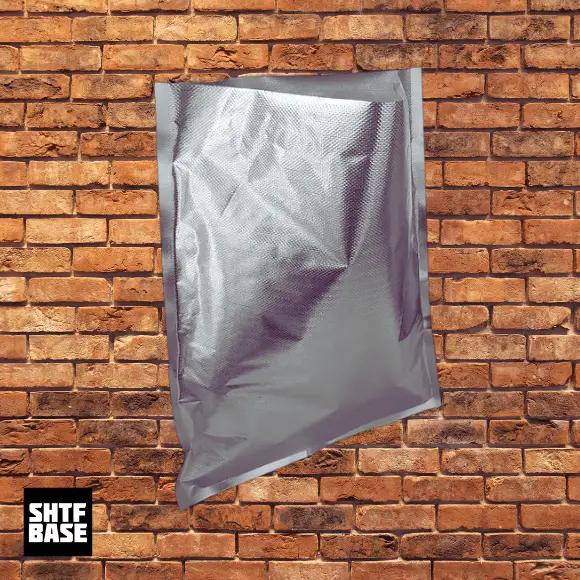
Preserving your own food in food grade buckets is really quite simple. I strongly recommend putting your food inside vacuum sealed mylar bags regardless of which type of buckets you’re using.
By using mylar bags you will have a secondary barrier for contamination should your buckets get damaged or the seal broken. This will also allow you to break your food up into smaller mylar bags so you can keep more of your food sealed until it’s needed.
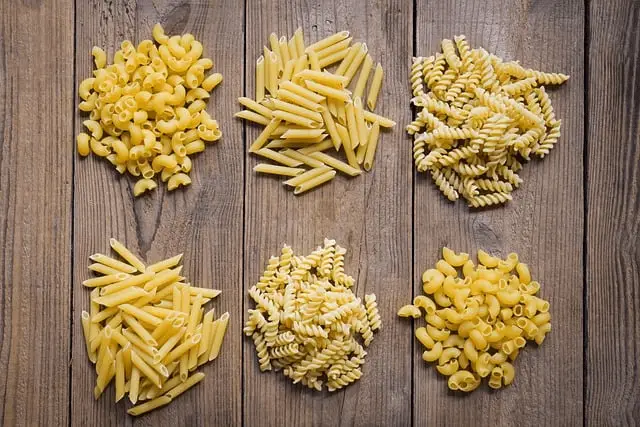
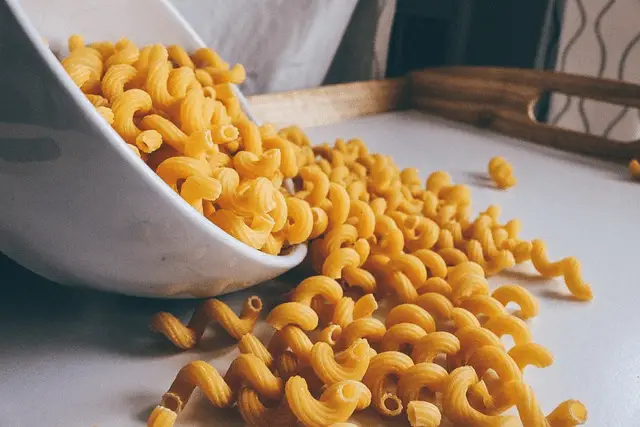
This food storage method is best suited to dry foods. I like to store bulk foods like wheat berries, white rice, white flour, sugar, brown sugar, dry pasta, and rolled oats using this technique. For more info on storing pasta long term check out our post here.
There isn’t much benefit to storing fatty foods this way. The mylar bags and oxygen absorbers don’t do much to prevent fats from going rancid.
Decide on your mylar bag size. For many foods I like half gallon or one gallon bags. You can even use five gallon bags and line an entire bucket but I don’t do this.
Place the appropriately sized oxygen absorbers in your mylar bags.
Fill the bags with food. In some cases it makes sense to keep the food inside it’s original package. You can also save one empty package and place it inside the bucket so you can reference it for preparation information.
Vacuum seal the bags. You can also use a clothes iron for sealing mylar bags. Press out as much air as you can and ensure an airtight seal.
Pack your sealed mylar bags into your food grade buckets (or normal buckets)
Attach the bucket lids and label with contents and date they were sealed.
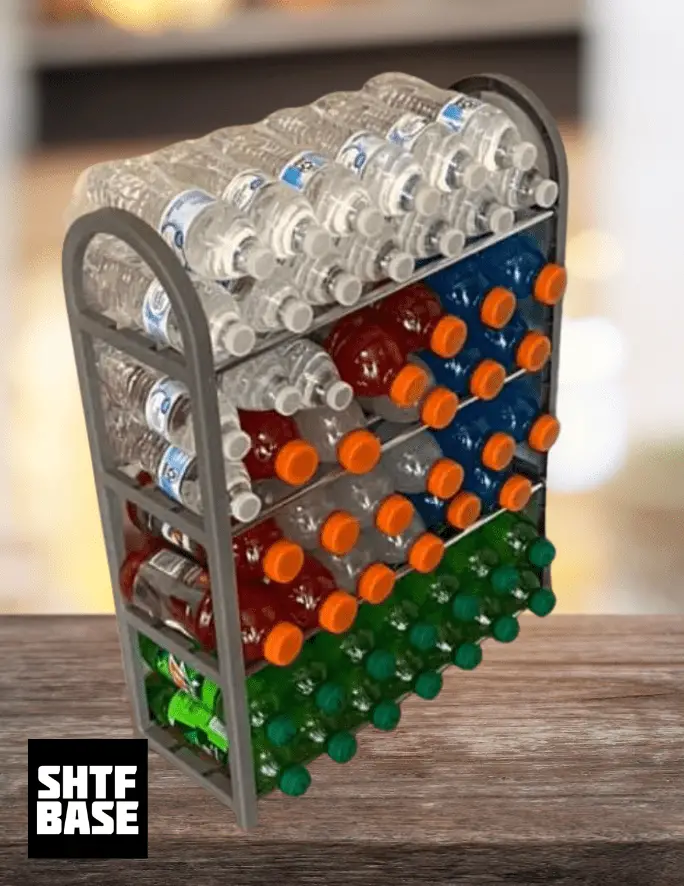
Stack buckets in your cool and dry storage space. Do not stack more than three buckets high. This can cause them to crack.
Periodically check your food buckets for evidence of compromise. I’ve found rodents can chew into a bucket if given enough time.


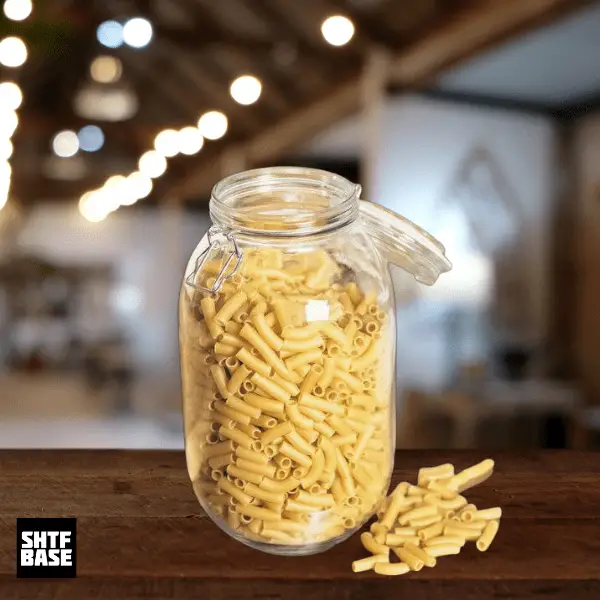
Yup, I like to repurpose containers when possible. For things like salt I like to reuse glass pickle jars or…
I like the efforts you have put in this, regards for all the great content.
- Have you ever considered using unconventional storage containers, such as repurposed items or DIY solutions, to store your emergency…
Thank you for this fantastic post! The information you provided is very useful and well-explained. I especially liked how you…
Greetings! I found this blog post to be incredibly informative and well-written. Your ability to break down complex topics into…